
Hot Runner Zone Mapping: Getting Start-Up Right
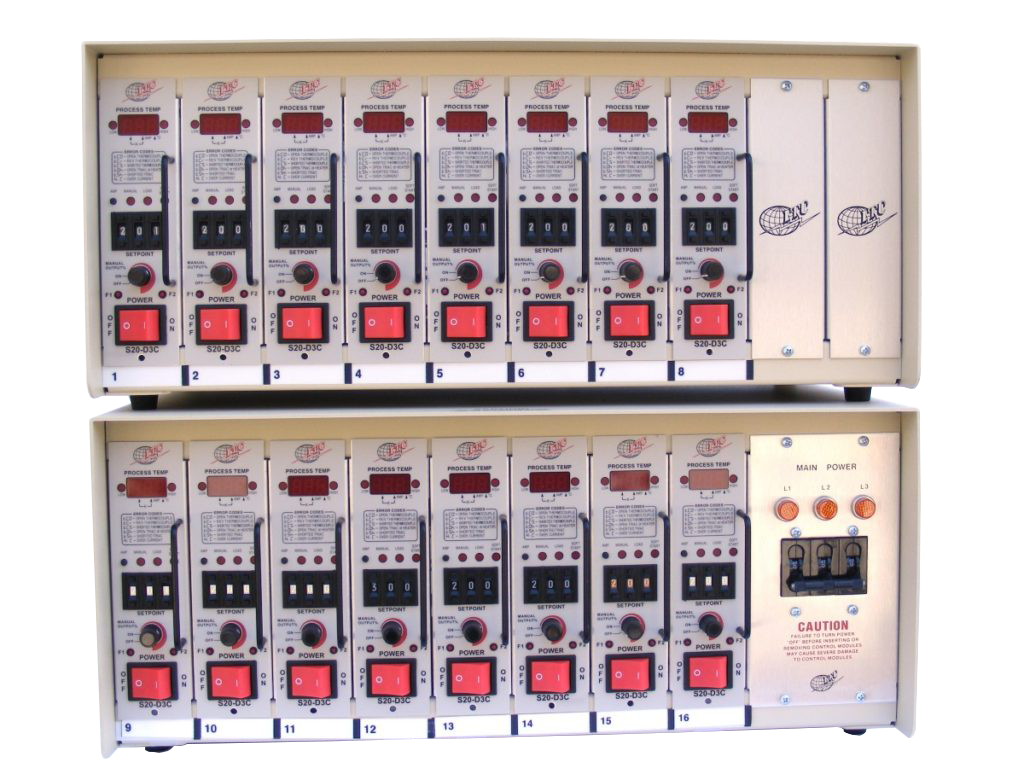
Most hot runner problems start in the first ten minutes of a run, not in hour ten.
Map before you heat
A zone number on a controller means nothing until it is written on the manifold. Before the first heat, trace each thermocouple and each heater to its drop and label both ends. A single crossed pair will run one drop cold and another hot, and the resulting parts will look like a mold problem.
Start-up sequence
- Confirm all thermocouples read ambient and match each other within a few degrees
- Use soft start so the heaters ramp at limited power for the first minutes — this drives out moisture
- Bring the manifold up first, then the drops, so the manifold is not heated by the drops
- Hold at 20 - 30 °C below process temperature until the whole system is even
- Ramp to process temperature and allow 15 - 20 minutes to stabilise before the first shot
Settings worth reviewing
- Standby temperature: 30 - 50 °C below process for breaks; not off, which causes a full cold start
- Boost: brief, controlled overshoot after a stoppage; never a substitute for a proper heat-up
- Alarm band: ±10 °C is usually right; wider bands hide failing heaters
- Current display: read it at start-up and record it; a zone drawing 20% less is failing
The mistakes that cost the most
Heating a cold manifold at full power with damp heaters. Leaving zones at process temperature overnight. Assuming a zone is fine because the display shows the setpoint — a thermocouple in the wrong place reads the manifold, not the melt. And changing a heater without re-checking the thermocouple position, which is the most common reason a "new heater" does not fix the problem.
See hot runner control systems and hot runner cartridge heaters.